
Painting Process – Planet of Anger
Posted on May 27, 2021, in Art || art, digital painting, process, sketchingIntroduction
When I began my latest painting, planet of anger, I decided to document the creation process from start to finish. If you’d like to get into digital painting, or are just curious about my process, check out the steps below!
1. Concept Sketches
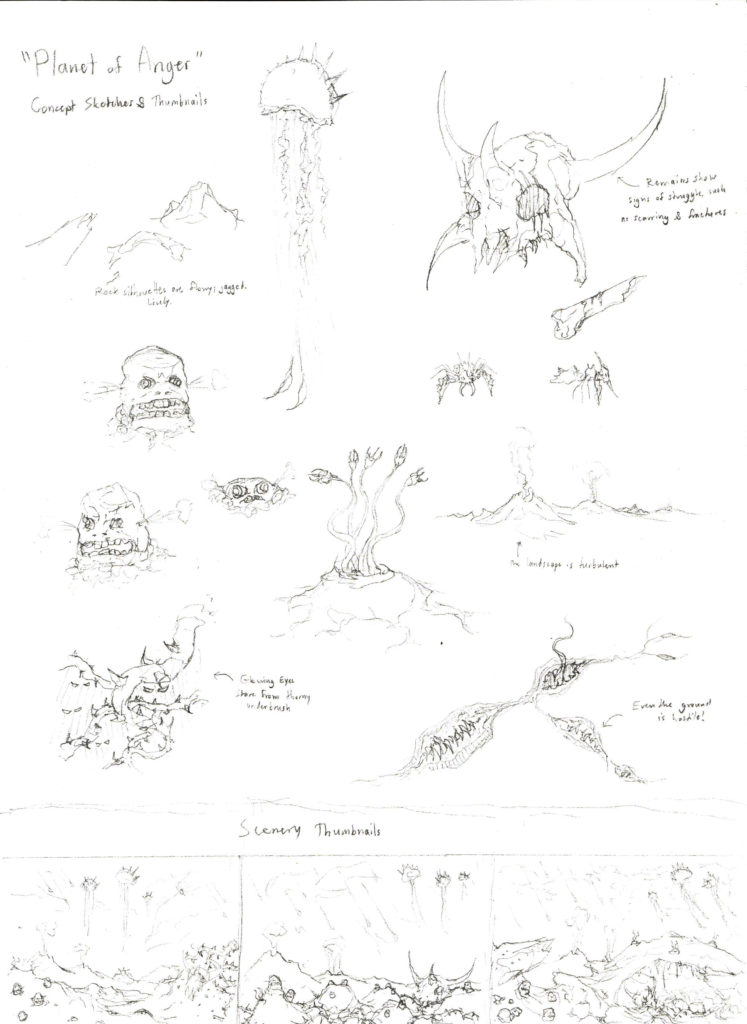
Before I begin a painting, I like to create concept sketches for it. Sketching allows for the rapid generation and iteration of ideas. I’m not worried about details at all in this stage, only about getting as much down on paper as quickly as possible. During this stage, it’s also a good idea to create thumbnail sketches, to start brainstorming the painting’s layout. My first thumbnail sketch was my original planned layout, but I ended up going with the last thumbnail sketch as my final layout!
2. Pencil Base
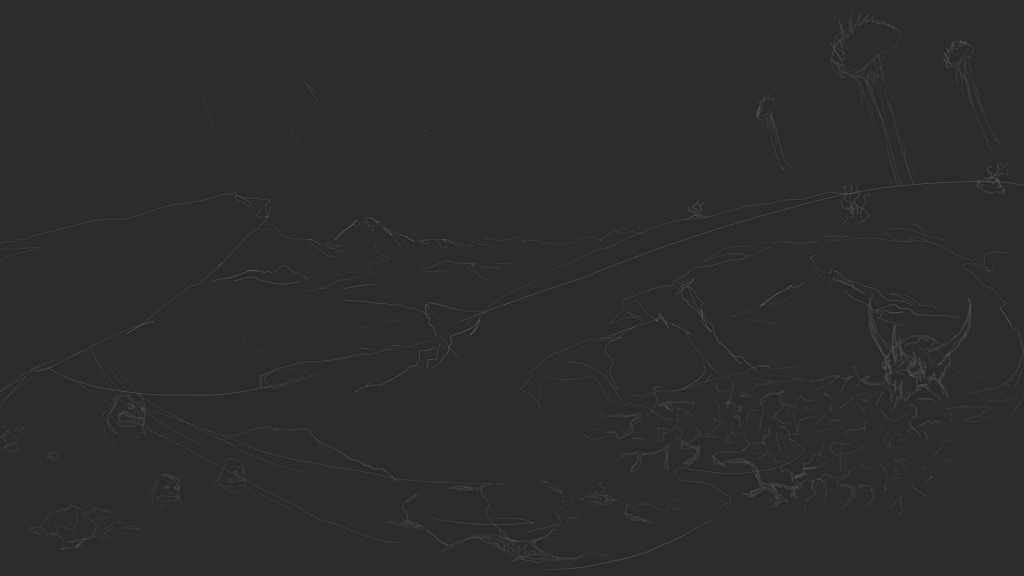
The next step is a quick digital pencil sketch of the final painting. This step can use scans of actual sketches as well. It’s ideal to use a dark background for the sketch, as it’s easier to work from a dark background when painting digitally. In physical painting, painters will also often add a dark base layer before starting their piece. If you want to add some interesting visual elements to the painting right off the bat, consider painting the base by hand rather than using a fill tool.
3. Background Speedpaint

This step is where the most rapid progress is made. Do not worry about details at this stage. Just block out the primary elements of the painting with broad, intentional strokes. This stage will create the foundation upon which the rest of the painting is built.
4. Additional Background Details
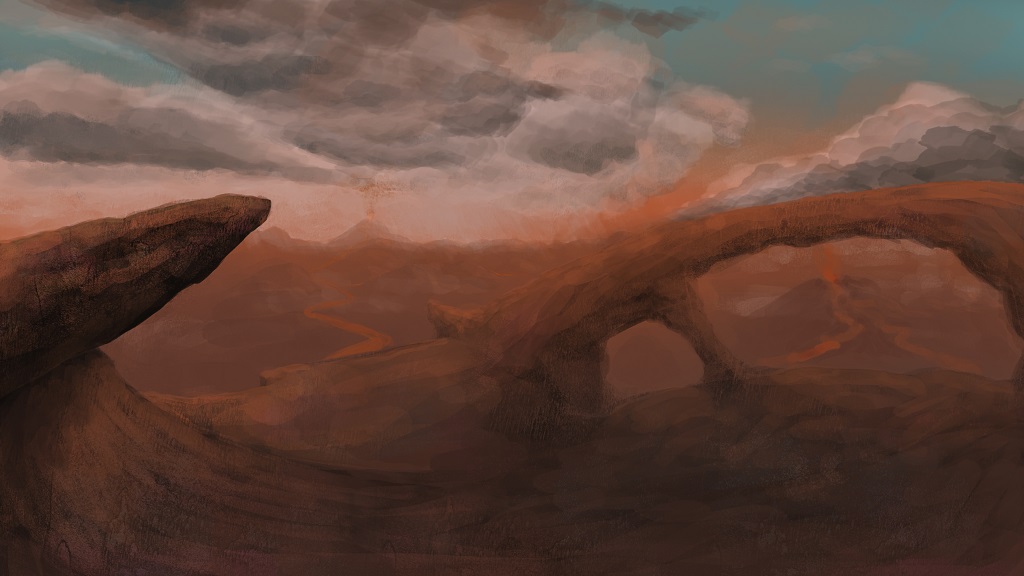
Refine the background a bit, start adding additional visual elements.
5. Flora and Fauna Blocking
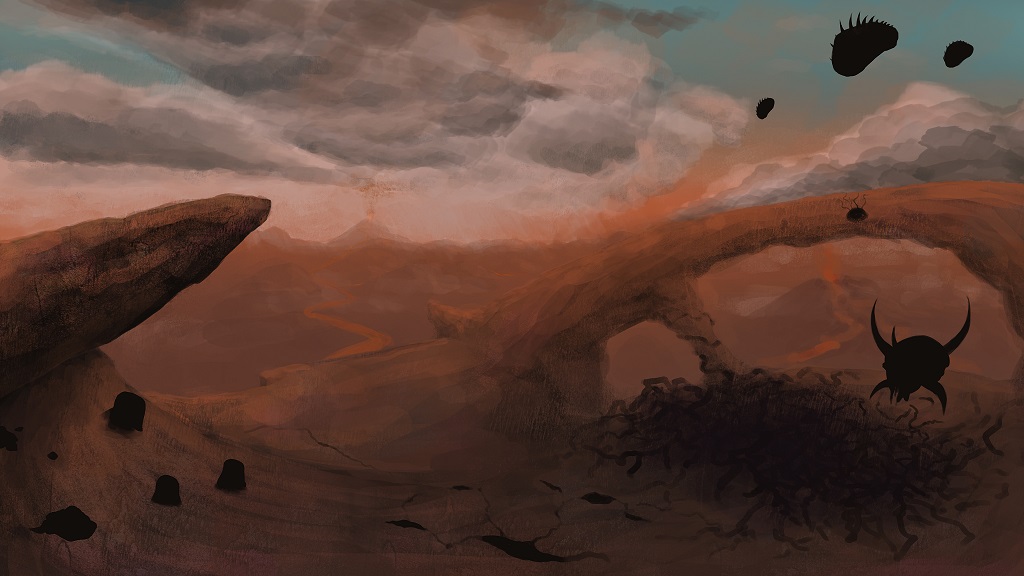
Once I’m satisfied with the background, I’ll start blocking out spaces for the flora and fauna. The blocking doesn’t always have to be as harsh as seen in the screenshot, but it’s important not to neglect this stage. Proper blocking will help your characters stand out from the background.
Note that I do not wait for the background to be fully polished before starting this stage. Rather, I prefer to let the background and creatures evolve with each other.
6. Flora and Fauna Detailing
Once blocked out, it’s time to detail the flora and fauna. Have fun with this stage! This is where the painting starts to resemble its final form.
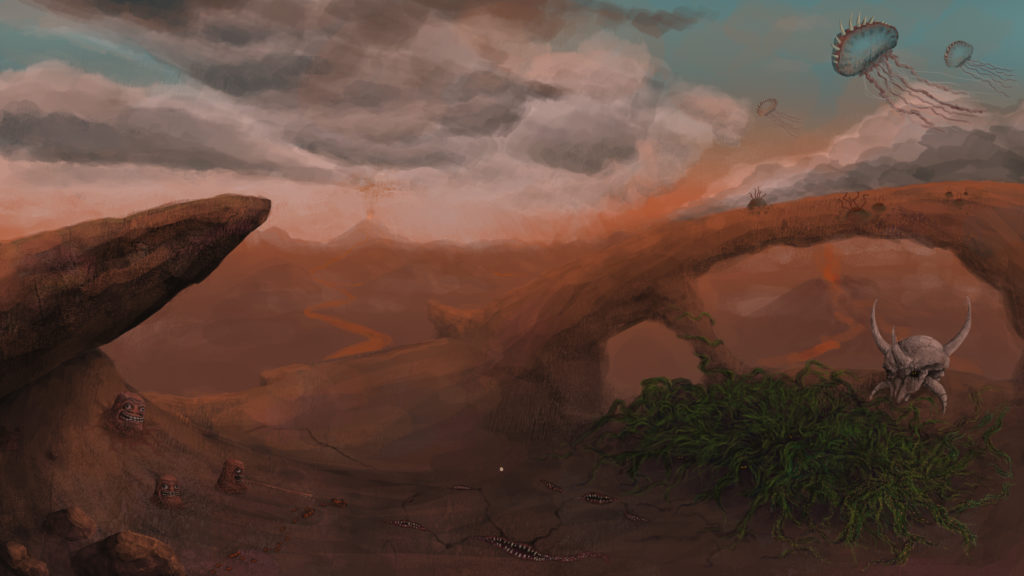
7. Additional Details and Polish

This stage, unlike the background speedpaint stage, can often feel quite slow. Don’t stress about detailing everything at once. Focus on one area at a time, moving around the painting as you add detail and clean up the piece. Repeat until satisfied. Knowing when to sign off on a piece is a hard skill, learned over time. As a general rule of thumb, if you feel that additions to the painting are no longer improving the piece, it’s ready!
Conclusion
I hope you’ve found this outline of my painting process valuable! I also made an animated NFT for Planet of Anger, showing all the steps above.